paul
22 January 2015
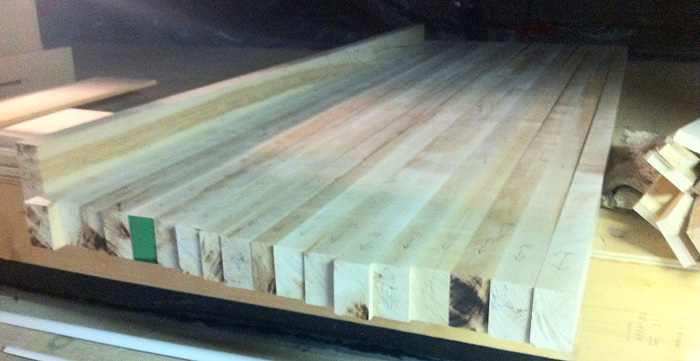
This is how the top of my work bench started out. About $800 worth of eastern maple. And yes, it is really heavy… don’t know how heavy… heavy enough to dread moving it any time soon.
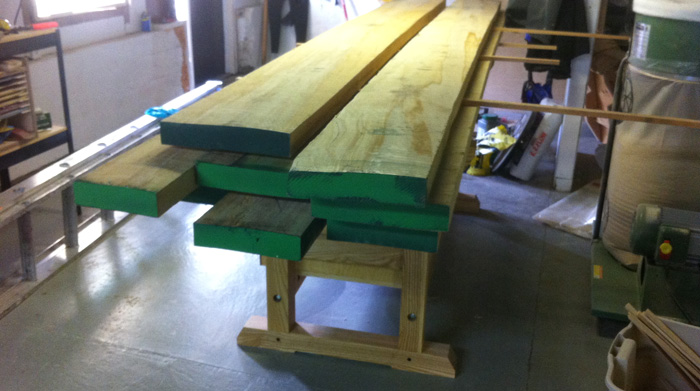
Most of the material was too wide to fit on my jointer so I ripped the material oversized before I started milling it.
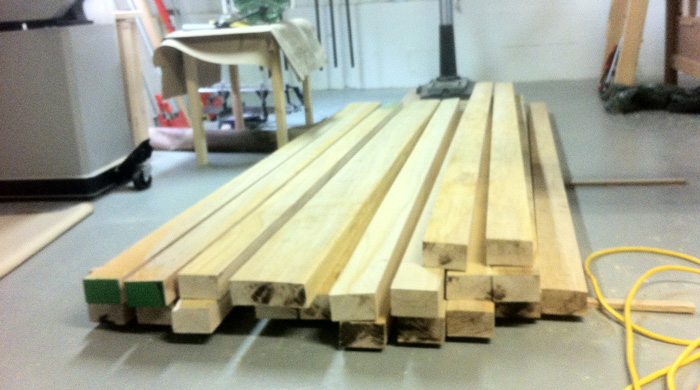
All the pieces of the top have been jointed and planed. I numbered all the pieces to ensure they get glued in the right order. I also marked the direction of the grain with an arrow so all the grain is going the same way – this will help me later when I flatten the top.
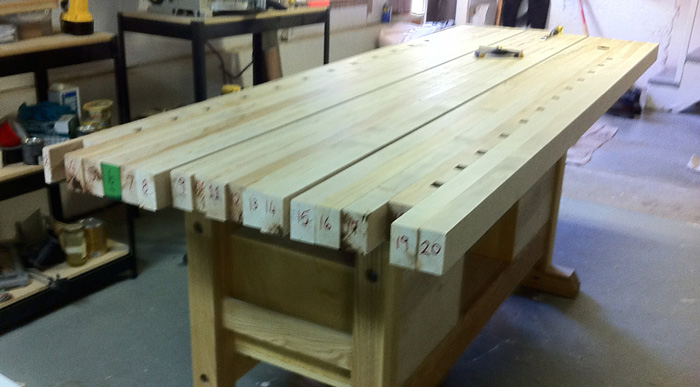
The slots for the bench dogs were cut on the table saw with dado blades and a cross-cut sled – I installed a key on the sled to ensure that they were all in the same spot and equal distant apart. I then used a router with a template to complete shaping the slots.
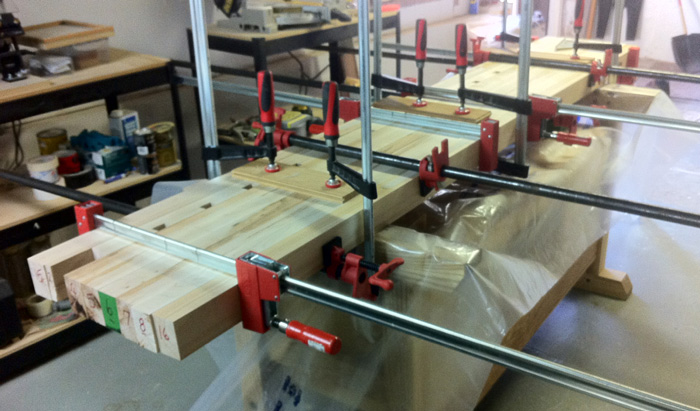
I glued up the top in 3 sections so I could run it through my planer to help flatten it. This is pretty much every clamp that I own.
Running each piece through the planer to flatten each side.
I then run an edge over the jointer to ensure that it is still exactly 90º to the surface. This will ensure a decent glue surface when I put the 3 pieces together.
The 3 pieces together ready for final glue-up.
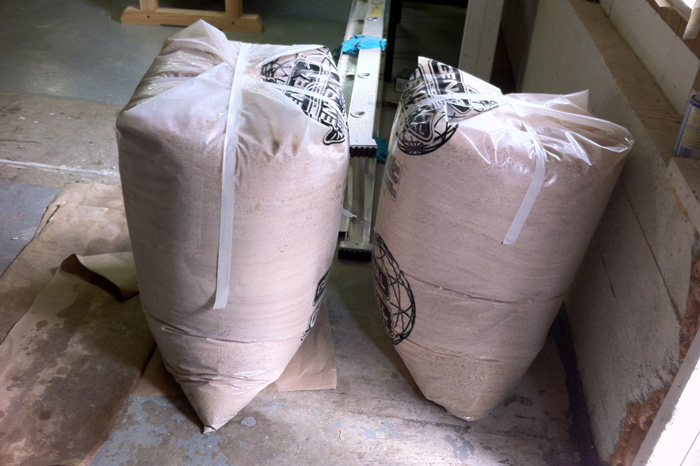
This is how much wood you lose going from raw lumber to final pieces.
Glueing the 3 pieces together. Using convex cauls across the top to keep the whole thing as flat as possible.

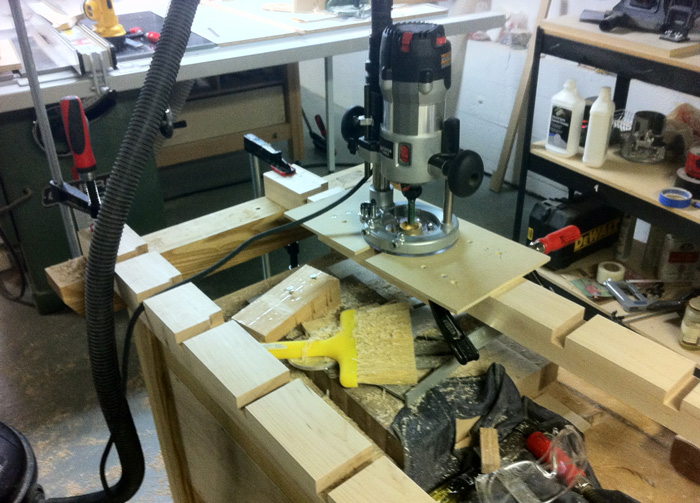
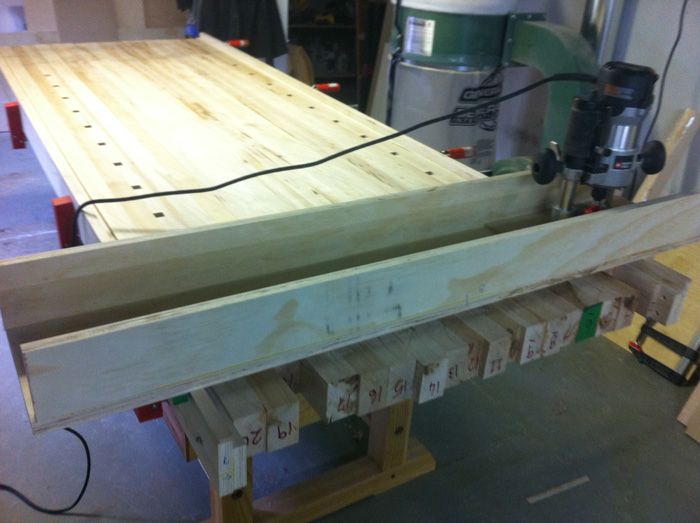
Having a perfectly flat work surface is really important when building furniture. Any slight bump or curve in the surface can really mess up a project. I clamped 2 rails to either side of the top and made sure they were on the same plane and plumb to each other. Then made a sled that my router could travel on and routed the entire top to remove high areas of the surface. Lots of sawdust during this process. In the photo below I’m working on the bottom of the table… Wanted to make sure the process would work before I tried it on the top.
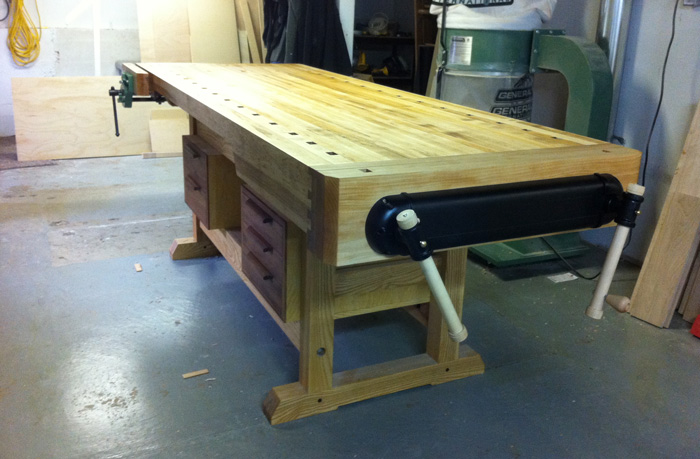
After lots of scraping and sanding – cut the top to final length using a skill saw and my router to clean up the edges. Installed the vices, a few coats of tung oil and I’m ready for business.