paul
22 January 2015
I had been kicking around this idea for a long time before actually getting to it. I should have taken more images of the process but was maybe caught up in the building rather than the documenting. Below are a couple photos of the jig I built to make the angled mortises to accept the table legs. (The black tube in the lower right is my shop vac to catch most of the sawdust)
Dry fitting the legs into the mortises to check the fit of the tenons on the legs. All the joinery on the legs was done prior to shaping the legs’ angled faces.
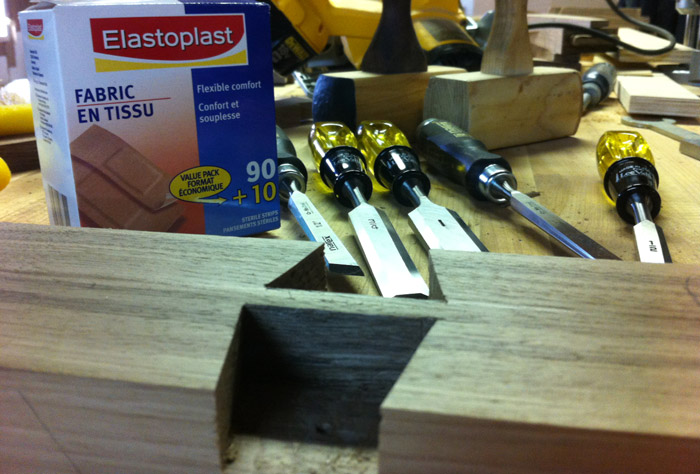
These dovetails in the tables top rails accept cross stretchers that will eventually be used to secure the top to the table. When the chisels come out – the band-aids come out… It always seems to work that way.
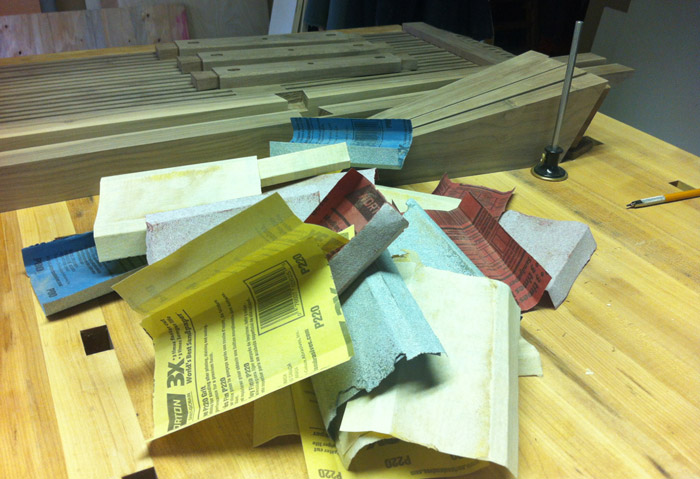
All the final pieces sanded by hand to 220 grit. Ready for assembly
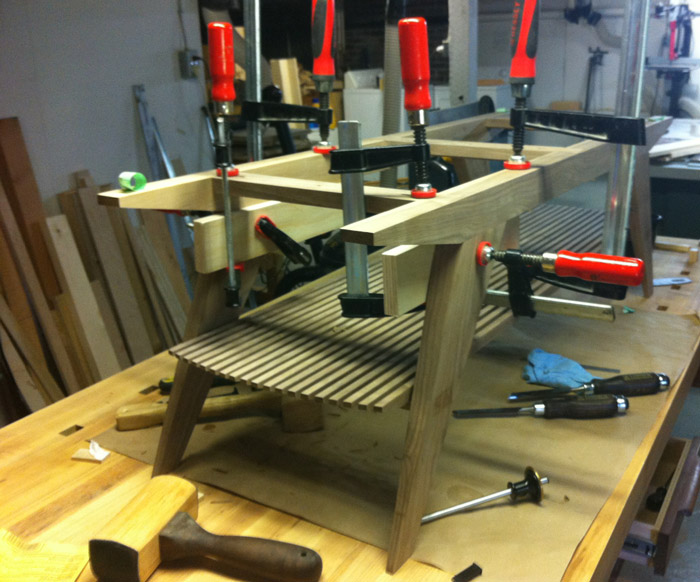
After the legs are shaped it’s time to glue them to the top rails. I had to make some clamping blocks to ensure that the clamping pressure followed the direction of the angled mortises.
Gluing the top stretchers into the upper rails. I had to get creative with my clamps.
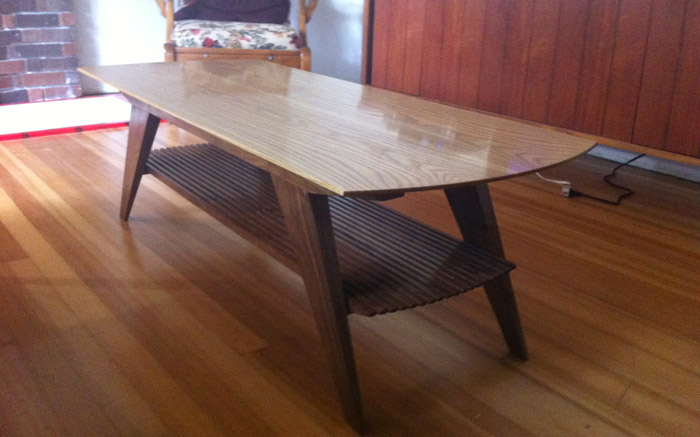
The top is a piece of 2″ thick Ash that I re-sawed and bookmatched to end up with a 3/4″ thick, 20″ wide top.